I qualified for the ray of sunshine, thank you for making finals week easier on me.
Author: tylerrose888
VR (ray of sunshine)
Hello Lucas, i qualified for the ray of sunshine and im pretty sure i just had to submit “something”. I was gonna put up 4 walls around the main area of my VR game that had their colliders on but visibility off then surround the stage with a thick brush of trees but then i got stumped as to what my game would actually be.
Fusion 360
Object 1: Rounded Square with a hole


This one didn’t give me much trouble i just followed the example in class and chose gold as the texture because it looked nice.
Object 2: Lamp Shade


For the lamp shade I got stuck on the part where I had to add a cylindrical void through the middle but I figured it out so this one wasn’t that much of a struggle either. I used the shell modifier to hollow out the inside and rotated the sketch i made around the vertical axis to get the shade itself.
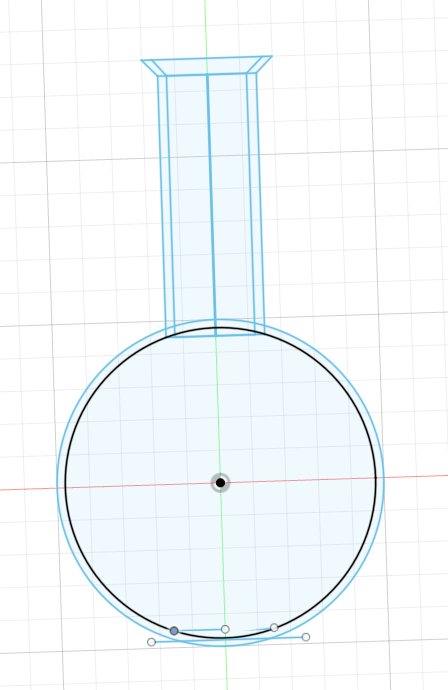
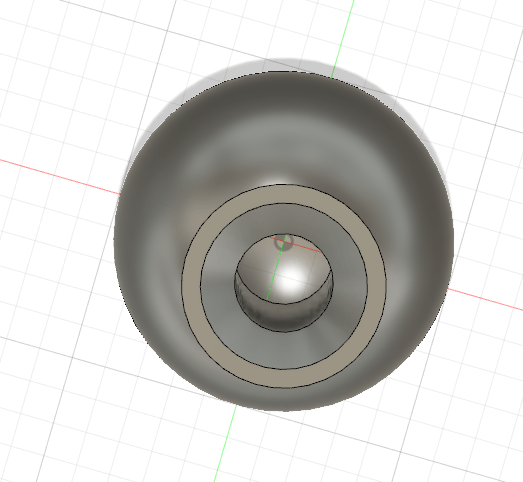
Object 3: The Flask
1 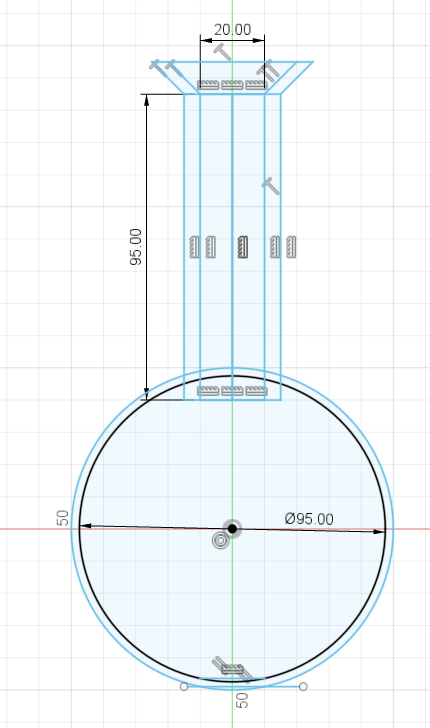
2 
3 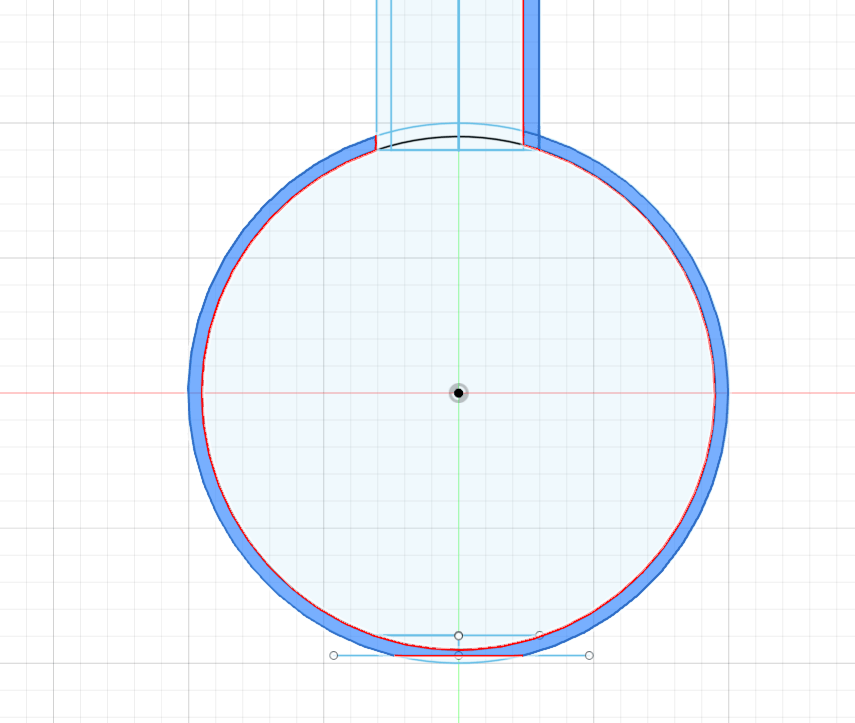
4 
5 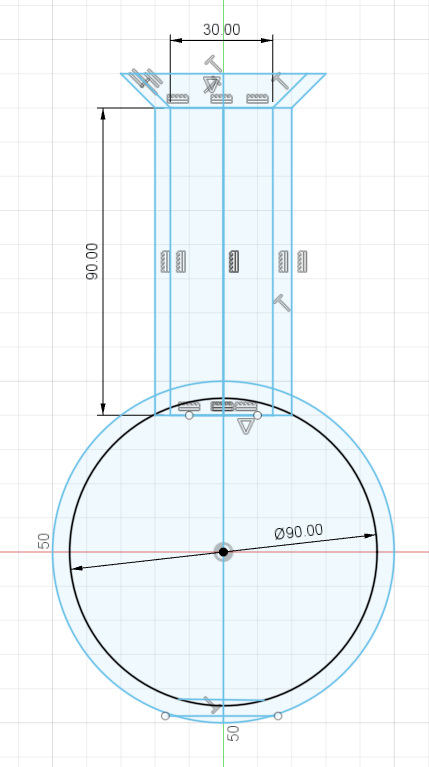
6
The flask was the biggest struggle for me because I couldn’t figure out how to get it to rotate about the Y-axis:
- This was me being naive thinking that a full circle could rotate about an axis and overlap onto itself.
- This was me adding all the proper measurements and fixing the flat bottom.
- This was me adjusting the flat bottom because I thought that would solve the problem.
- This is the main problem I had because when the full circle gets highlighted when trying to rotate it wont let you actually rotate it about an axis because the shape will overlap into itself.
- This is where I redid the entire sketch again but this time adding a straight line down the middle.
- Now with this straight line I could select only half the circle and properly rotate about the axis I wanted.

This was the result of the fixed rotation problems I was having.

This is me adding the shape for the liquid within the sketch of the glass flask itself. However, this time I knew to add a line down the middle so I could actually rotate about an axis without overlap.

This was my adjustment to the lip of the flask using the fillet modifier.

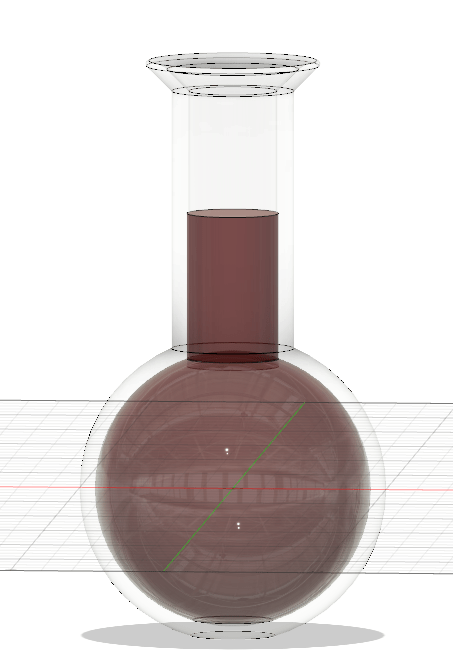
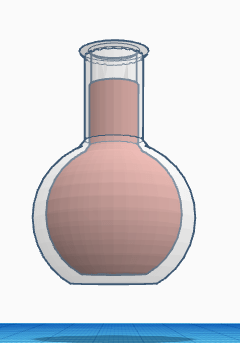
The general final design before rendering it.
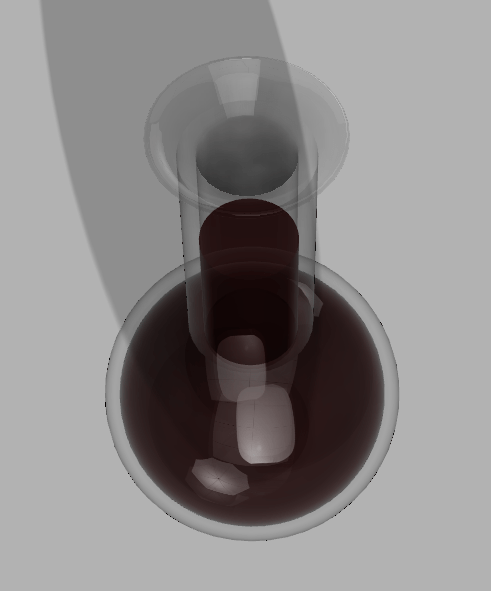


This is my final design with the red (or at least the closest I could get to red) liquid within a flat bottomed glass flask. I used one of the swimming pool water textures so the liquid should be transparent but it does look pretty murky.
Object 4: Bowler Hat


The only issues i had here was after splicing a hole to add curvature to the brim, I couldn’t just grab the underside of the top part of the hat and extrude it down. My fix for this was that I spliced the curve in the hat then added a straight line segment along the top so i could extrude the flattened underside of the top part of the hat.
The other issue I ran into was adding the hole within the hat for the head. Because I forgot to add the extra elipse within my first sketch and extrude, fillet, then turn it into a cut option rather than a join, I had to create a new sketch then extrude and fillet that. After those steps I used the combine option within modifiers and specified that I wanted the inner object to combine and cut with the outer object witch gave me the head hole in the hat.
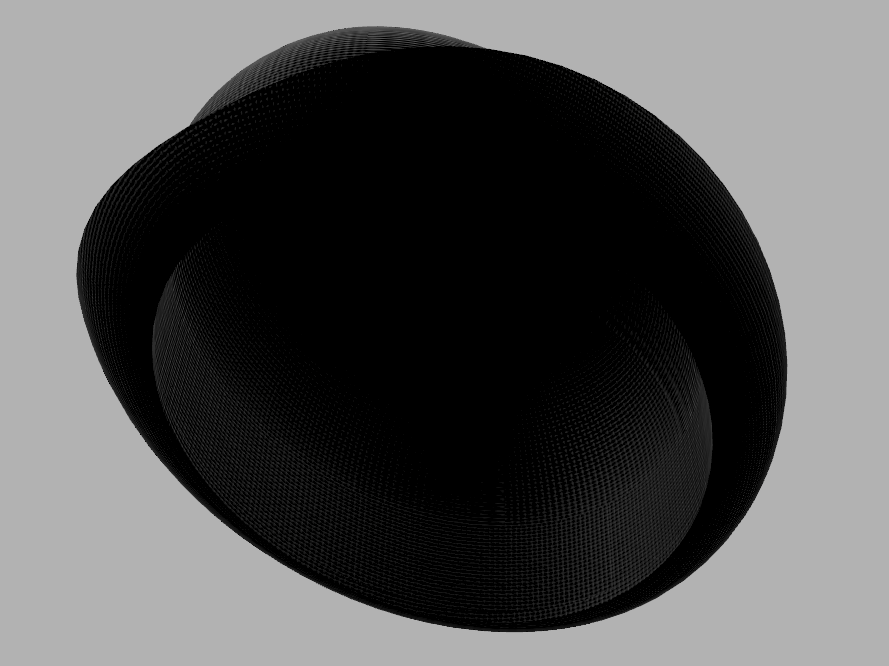
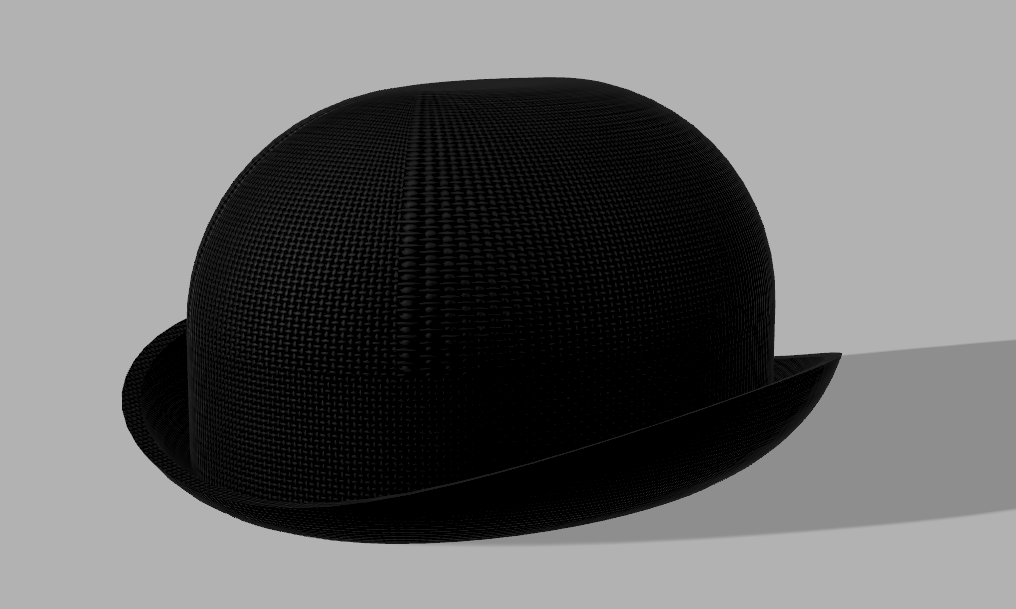
This is the final product and I used the black felt option for my texture.
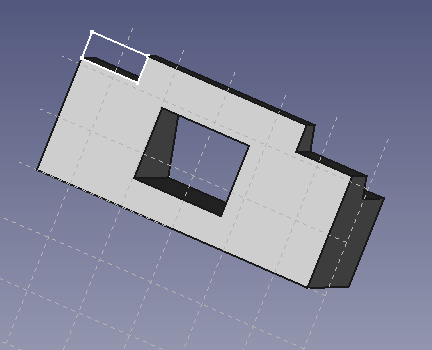
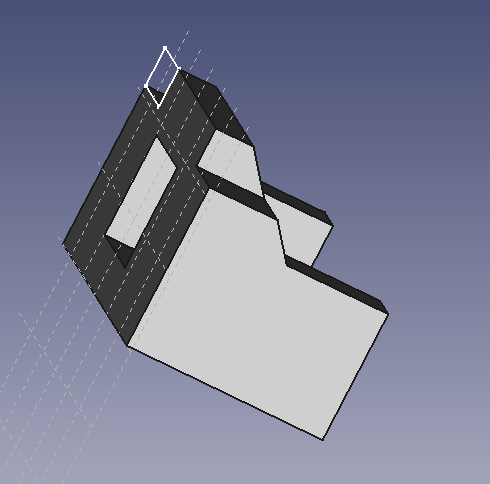
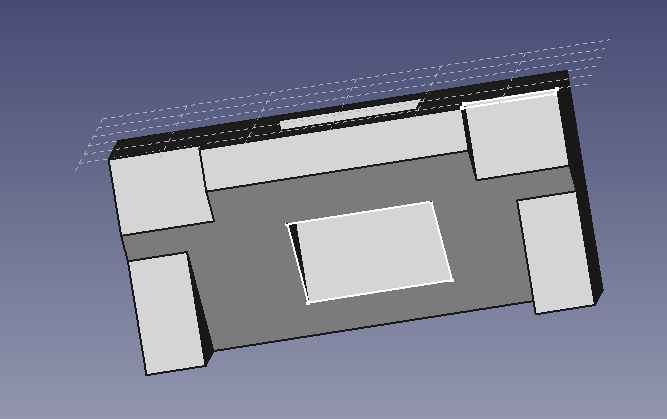
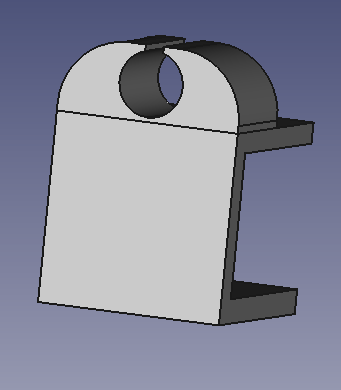
Fabricating For a Function (Journal 9)
My “problem” that can be fixed by 3D printing is really simple, after I’m done playing videogames I usually just place my remote on the floor or on a chair or somewhere random and relatively often I step on it or sit on it , break it , then have to play with a busted remote because I’m dumb. What I’m thinking I can do as a solution is maybe I could make a clip that attaches to my dresser drawer (because my gaming setup is on top of the dresser) and this will serve as a holder for my remote.
Freecad (Journal 7)
Tutorial Shape


-The only problem i had with the tutorial was that i couldn’t get rid of that white box on the top corner of the shape.
Laptop Charger Holder


-Here all I had to do was follow your in class example and make the height of the clamp equal to the height of my desk.
2 Shapes That Fit Together
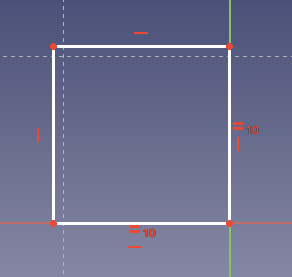


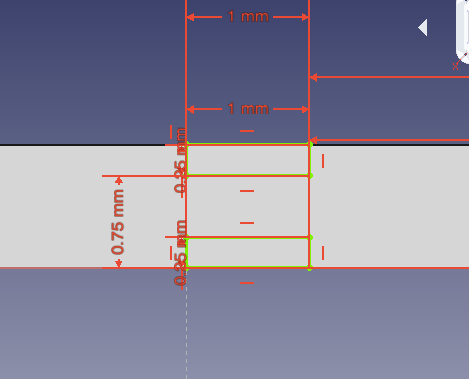
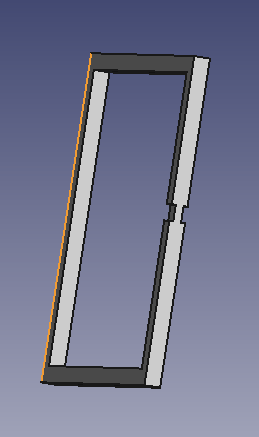

-Here I made 2 hollowed out squares that are 10 x 10 x 1.
-Then I made a gap in the first one that is 0.5mm wide so it can fit the other shape with the gap I placed in that.
-Finally, I made the other shape have 2 gaps that are 0.25 x 1mm which left a 1 x 0.5mm bridge in this shape that can properly fit through the gap in the first shape.
-I know you wanted us to make 2 shapes that would fit together without falling apart so i figured due to the large hole in both shapes, once you actually put them together they would be relatively difficult to just fall apart through the small gap fitting perfectly with the bridge of the other shape.
Tinkercad
PVC Pipe


- The only issue here is the void going through horizontal axis might not be perfectly circular.
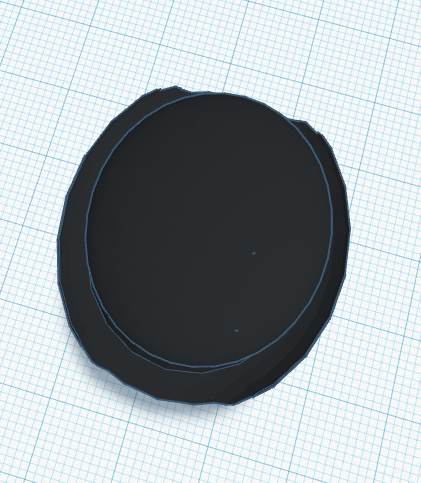
Pink Egg


- The only issue i had with this one was that the point where the egg halves connect doesn’t seem as smooth as I think it could’ve been.
Floppy Disk

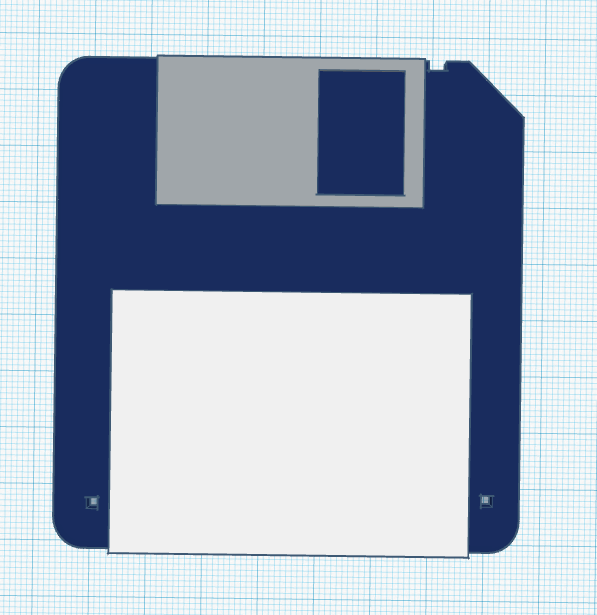
- The only problem I had with this one was that I could not flip over the disk to work on the underside.
Plastic Spoon


- I struggled smoothing out a lot of aspects of the spoon. The underside of the was curved out but i could not close it off smoothly on the back end of the spoon. Then the neck of the spoon was also pretty rough because I tried to cross 2 wedges and then smoothing them out but that left a small sharp portion on the neck of the spoon that I just could not get rid of with any kind of specific enough void. However, the top and underside of the neck are hollowed into at a curve.
Bowler Cap


- I feel like the bowler cap came out good but I may have stretched it out too far.
Flask


- The only problems I had with the flask was that I could not make the sphere of the liquid larger at the same scale that i made the glass larger. However, I successfully hollowed out the tube and added a lip to the glass.
Aviator Sunglasses

1 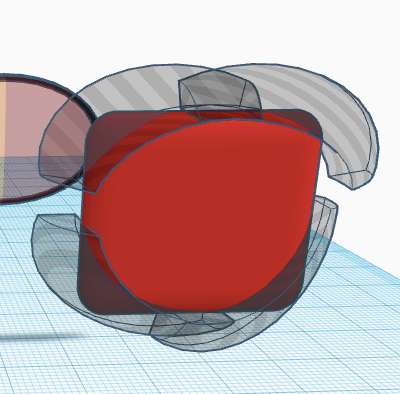
2 
3 
4 
5 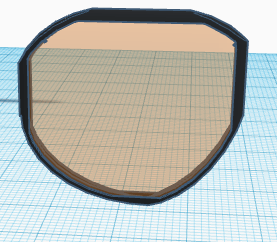
6 
7 
8 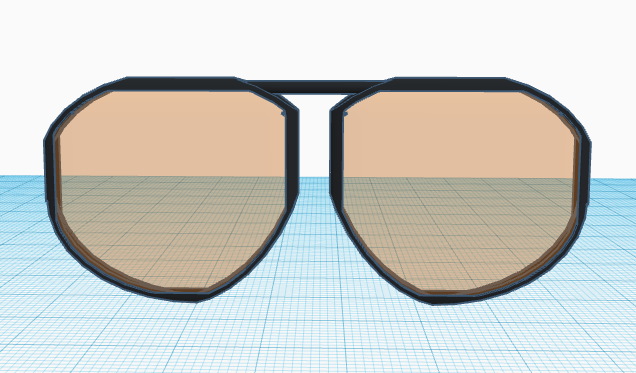
9 
10 
11 
12 
13 
14 
15 
16 
17 
18 
19 
20 
21
- I initially tried to make them with ovals and then adding 2 overlapping clear tinted lens to get a faded lens but it I could only get the colors to split like in the picture.
- Then i decided to round out the corners of a square so the lenses would still be slightly rounded out.
- I then hollowed out the inside so the lenses had a slight curve and were thin. Then I made it translucent.
- Then I duplicated and flipped them.
- I made the lens solid and then made it bigger.
- Hollowed it out to fit the glass.
- Cut off the edges of a cylinder to fit the top of the glasses.
- ^^^
- Put the edgeless cylinder in the glasses.
- Cut off the edges of the curved half cylinder.
- Put the edgeless curved cylinder in the glasses.
- Added the side block to each side of the glasses and connected the wire through.
- Did ^ for both sides.
- Changed the colors.
- Added the end of the wire that goes behind the ear. Tried my best to add a contour and smooth it out.
- Smoothed it out more.
- I wanted to use the text block so I just threw it on the side of the wire like a brand.
- Rough draft finish.
- Adding the nose pieces.
- ^^^
- Final product.
Group Teamwork Post #3
My group made a fully functioning randomizer app with 3 different randomizer modes. We made a coin flip, a dice roll, and a randomizer where the user can input 4 options and the app will randomly select one for you. We integrated all of the requirements given on the canvas page and everything went relatively smoothly. All the group members contributed to the group in a meaningful way and we all worked well together. Gilberto and I did all of the “coding” with the lego blocks. We met in a Strozier study room on Monday to work through to the final build of the app that runs relatively smoothly.


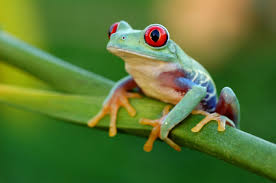
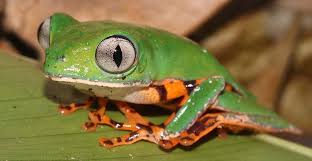
App Design: Frog App

In this project I made a picture of a frog rotate, change size and make a noise depending on which button you click.


Blog Post #1
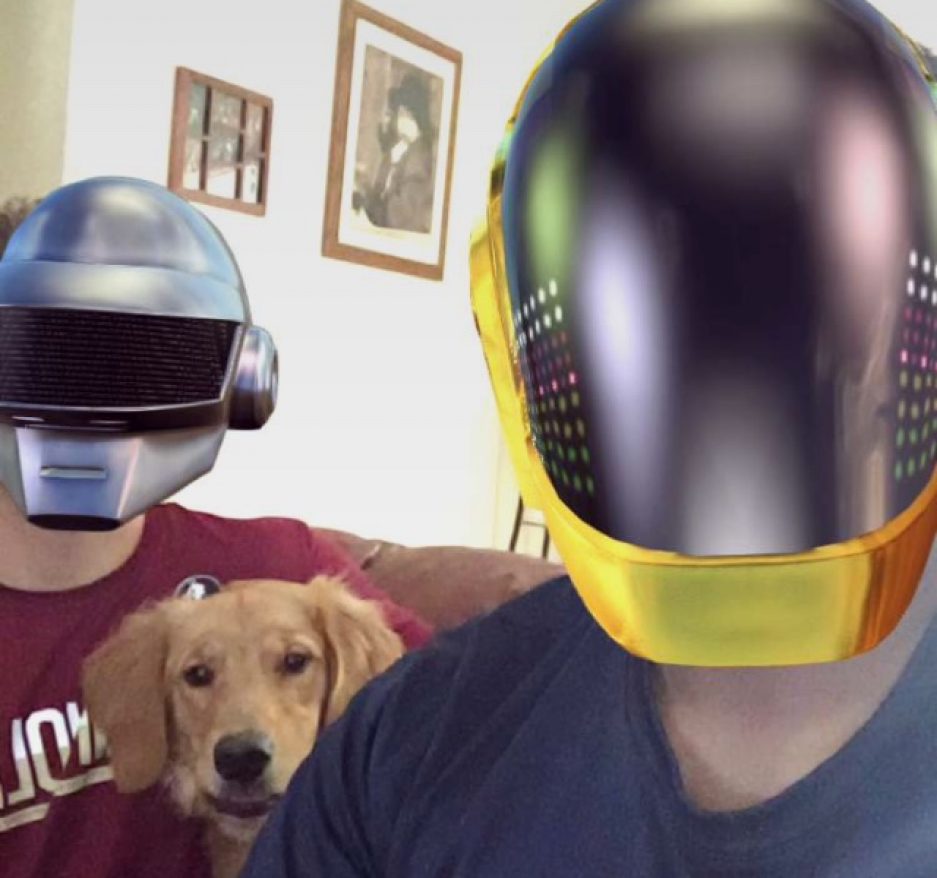
Howdy Professor, my name is Tyler Rose and I am in my third year here at FSU. I’m a stats major and I’ve taken 2 programming classes here at FSU. I actually enjoyed both of the programming classes I took and I like learning how to operate technologies I’m unfamiliar with so I’m hoping this class will be fun. My hometown is Coral Springs Florida and I used to play baseball. The new photo on the home screen of my “blog” is my buddy, my dog and I from a while ago and the pictures below are: my dog (Baily), and me on my first day ever at FSU.
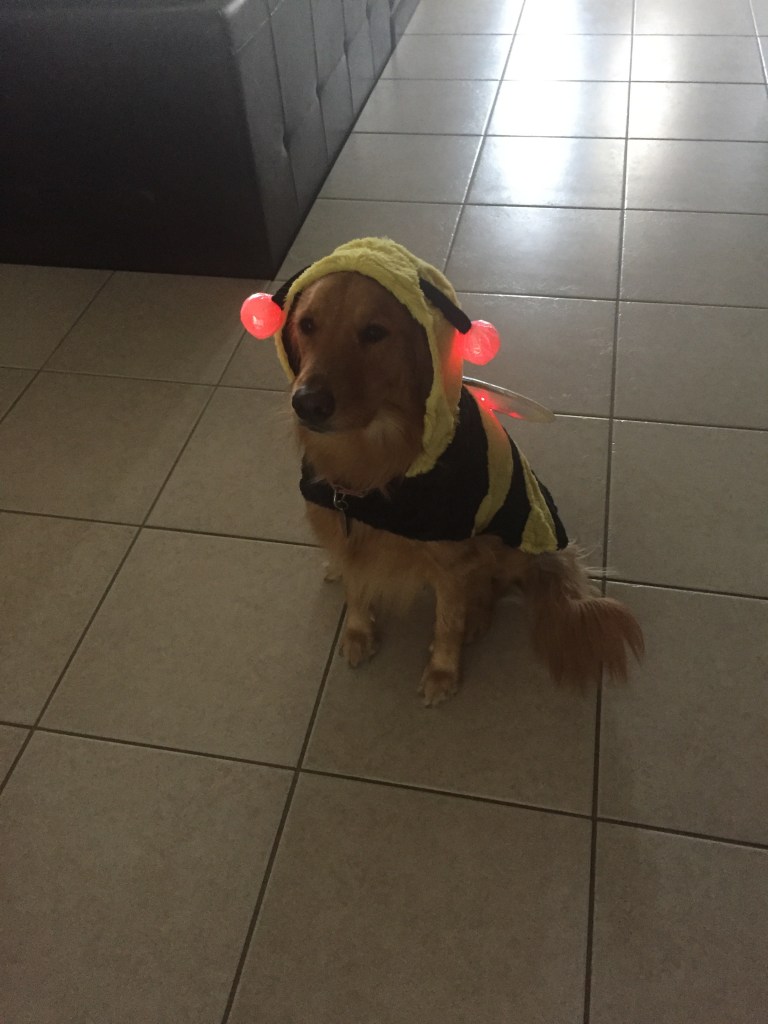
This is Baily ^

This is me ^
My First Blog Post
Be yourself; Everyone else is already taken.
— Oscar Wilde.
This is the first post on my new blog. I’m just getting this new blog going, so stay tuned for more. Subscribe below to get notified when I post new updates.
